Creating a Fusion Object
To create an object, choose the Kstudio Category in the Create section on the Command Panel
Create the object in the viewport and switch to the Modify tab
Also you can use the button from the toolbar
To adding the buttons use the 3ds max menu “Customize”>> “Customize User Interface”>>
"Toolbars" >> Category “Kstudio”. Choose the icon and drag it to the Panel of the Instruments
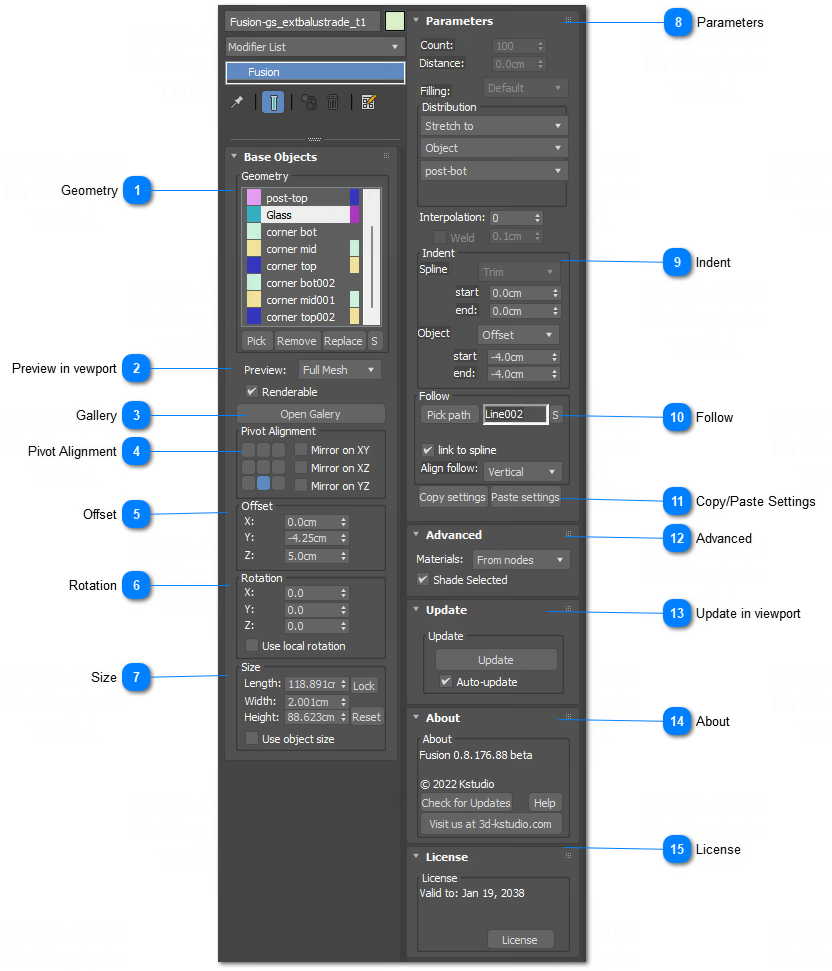
 Geometry
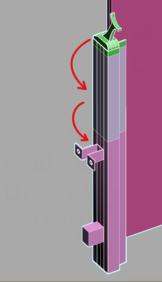
Object list management —
Add,
Remove,
Replace,
Select object from the list in the viewport.
Color on the left side - this is a wire-color of the node
Color on the right side - this is a wire-color of the linked node (see Parameters)
TIP: You can select an node in the list directly in the viewport by clicking on it and holding CTRL button
|
|
 Preview in vewportPreview: Geometry display mode in vewport - Full Mesh, Box, Hide
Renderable: Enable/Disable object on rendering
|
|
 GalleryOpen Gallery - opens a list of models ready to create new Fusion objects or add/replace something in a Fusion object selected in the scene.
The gallery can also be expanded with the profiles from the Sweep Shapes set.
Select an object from the list to control its settings.
|
|
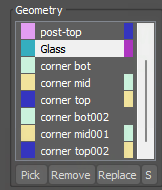
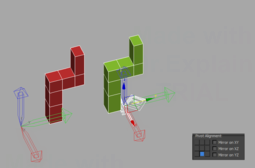
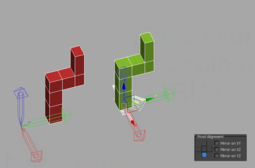
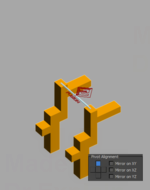
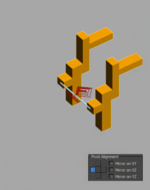
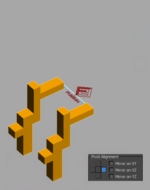
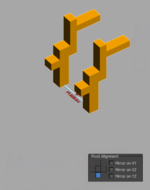
 Pivot Alignment
Sets the reference point and orientation of the object relative to the spline or object (see Link to)
|
|
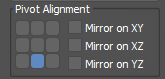
 Offset
Controls the offset of the object relative to the spline or object (see Link to)
|
|
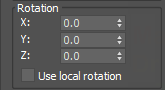
 Rotation
Controls the rotation of the object relative to the spline or object (see Link to)
|
|
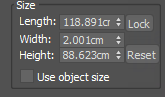
 Size
Size of the object in system units.
By default, an object is added with its original dimensions.
Pressing the Lock button locks the proportions of the object, so that when any of its dimensions are altered, the other dimensions are automatically changed to preserve the proportions.
The Reset button resets the dimensions to their original values.
Use object size - use actual size from the object
|
|
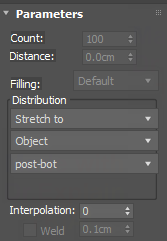
 Parameters
Count: Number of objects. In some modes, this option is not available.
Distance: Distance between distributed objects
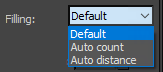
Filling: Default — set the number of copies and distance between them.
Auto Count — the number of copies is set automatically.
Auto Distance — the distance between the copies is set automatically.
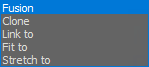
Distribution:
Type:
|
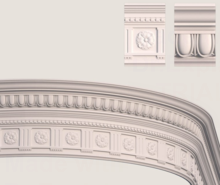
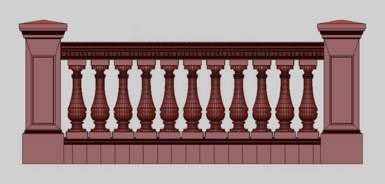
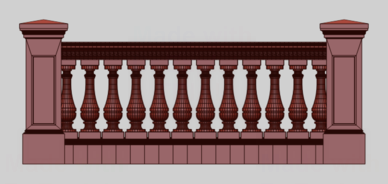
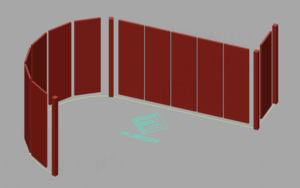
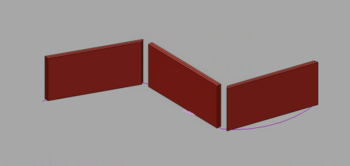
Fusion - glue copies along a spline to one continuous object.
Useful for creating complex moldings with fretwork.
|
|
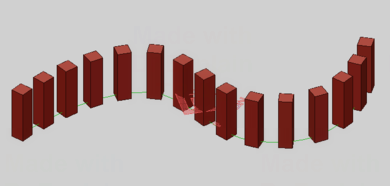
Clone - distribute object(s) along spline
|
|
Link to - link object to other object or spline vertices (see the Depends and Parent sections below)
|
|
|
|
|
|
Fit to column
|
Simple Clone
| Fit to - distribute object between other objects or spline vertices (see the Depends and Parent sections below)
|
|
Stretch to - stretches the object between other objects or spline vertices (see the Depends and Parent sections below)
|
Depends:
|
|
|
|
|
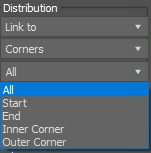
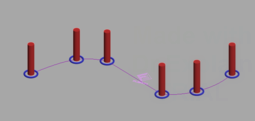
Link to corners
|
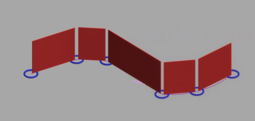
Fit to corners
(count: 8/Auto distance)
|
Stretch to corners
(with offset)
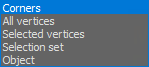
| Corners - distribute objects between spline corners (including start and end spline vertices)
The following settings become available the mode Link to + Corners
All - link to all corners, including start and end points of the spline ( you can use the settings from the Indent section to remove object from the start/end or corners beetween )
Start- link to the first vertex on the spline
End- link to the last vertex on the spline
Inner Corner - link to the inner corners on the spline
Outer Corner - link to the outer corners on the spline
|
|
|
|
|
|
Link to All vertices
|
Fit to All vertices
(count: 8/Auto distance)
|
Stretch to All vertices
(with offset)
| All vertices - distribute objects between spline vertices
|
Selected vertices - distribute objects between selected spline vertices
Selection set - distribute objects between spline vertices in the named set
Object - distribute object clones between other objects
Parent:
Displays the list of spline's named selection sets or names of objects to distribute
|
|
|
|
|
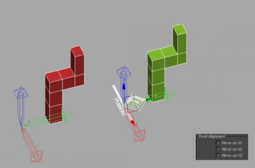
Use Object Pivot Point
|
Use Object Center Pivot
|
Use Object Pivot Alignment
| |
|
Use Object Pivot Alignment
|
|
|
|
|
|
|
|
Top Align
|
Left Align
|
Right Align
|
Bottom Align
|
Center Align
| | Use Object Center Pivot
Useful for easy and precise placing especially using with mode Link To object.
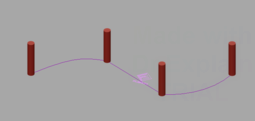
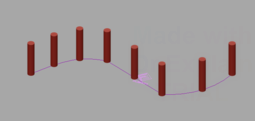
Interpolation: Only available in Fusion and Stretch to modes. Sets the number of sections for an object.
Useful, for example, for geometry placed along a curved spline.
|
|
|
|
Interpolation: 0
|
Interpolation: 10
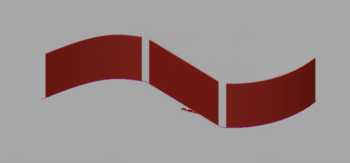
| | Weld: Only available in Fusion mode. Glues copies together.
Useful, for example, for smoothing when distributing geometry along a curved spline.
|
|
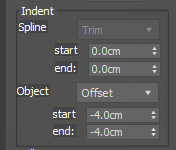
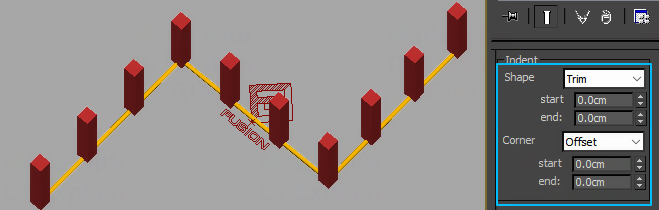
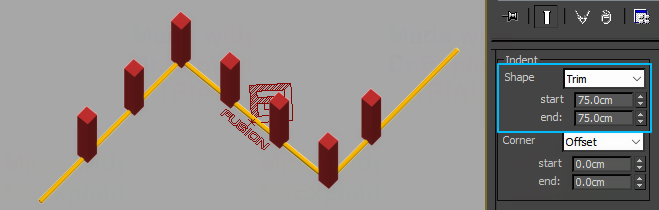
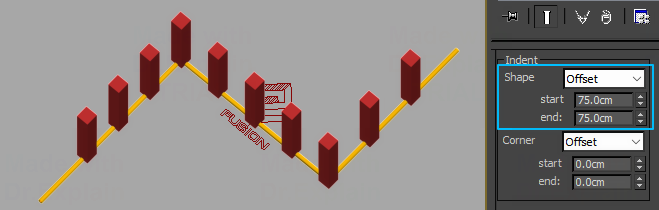
 Indent
Spline: Trim — truncates the geometry from the spline's start and end vertices according to the Start and End parameters
Offset — shifts the geometry from the spline's start and end vertices according to the Start and End parameters
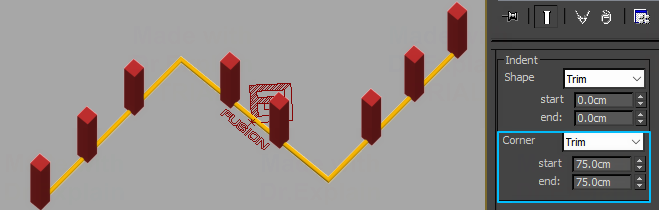
Corner: Trim — truncates the geometry from the spline's corners start and end vertices according to the Start and End parameters
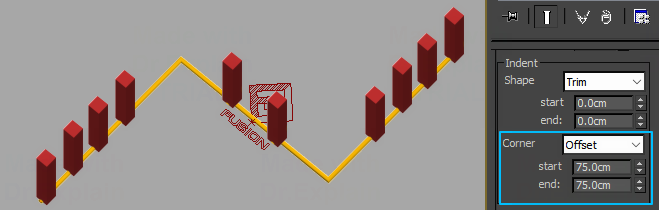
Offset — shifts the geometry from the spline's corners start and end vertices according to the Start and End parameters
|
No Trim/Offset
|
|
Trim Shape Start/End
|
|
Offset Shape Start/End
|
|
Trim Corner
|
|
Offset Corner
| | |
|
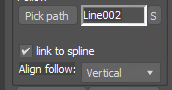
 FollowPick path: Adds the spline along which the geometry will be distributed
S: Select Spline
Link to Spline: Link Fusion object transformations to spline
Align Follow: Spline — distributes perpendicular to the spline. Works with 3D splines.
Vertical — distributes perpendicular to the surface. Ignores the curvature of 3D splines.
|
|
 Copy/Paste SettingsAllows transferring parameters from one object to another
|
|
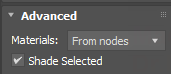
 AdvancedMaterials:
From Nodes: Generates the material based on the materials of the original geometry.
The object's face ID will be changed automatically if necessary.
Custom materials: The user can specify his own material. The object's face ID will not be changed.
Shade Selected: Highlight selected in the list node into the viewport
|
|
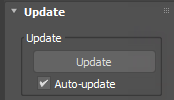
 Update in viewport
Manages object updates in viewport.
Set to Auto-Update by default. For complex geometry, manual update is recommended.
|
|
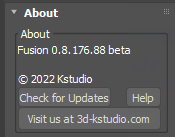
 AboutInformation about current version
Check for Updates - check for new version
Help- opens the help file
|
|
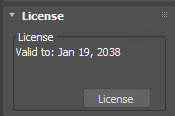
 LicenseLicense valid date and apply license.
Receiving the license key
-
-
-
Open the License rollout and press the button License -
An activation dialog will appear
Select the most suitable activation type - using activaytion key or identification file.
|
|
Known issues: Complex geometry in Fusion mode is a bit slow. By the time of release, the Fusion mode performance will be speed up.
PS. Also supports shapes from Mouldings kits.